Nuke Icon Toolkit
nuke_icon_toolkit is a collection of high-DPI (512x512) icons for Foundry Nuke, intended to help you replace the low-resolution icons included by default.
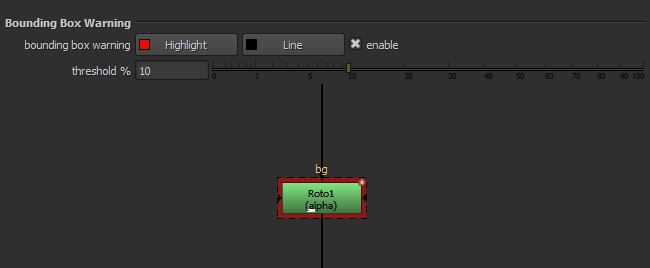
Flags can change a knob’s appearance or behaviour. They are useful for doing things like:
Only a few knob flags are registered in Nuke’s Python module, which makes them a little difficult to use.
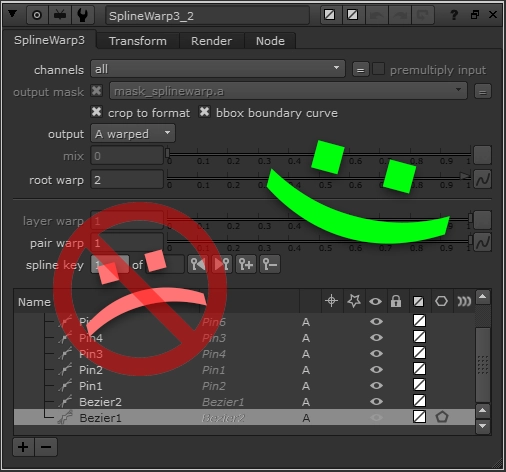
Some gizmos dynamically hide/show a number of knobs with the KnobChanged python callback. This is a good option to keep your gizmo's UI clean, but can start to get very heavy when you have too many knobs to handle, and too many nodes inside your gizmo.
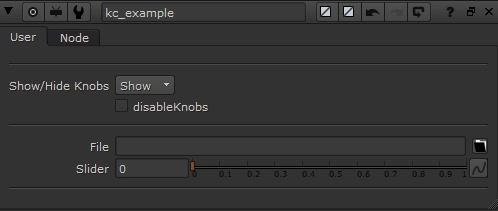
Instead, it can be cleaner to use Python Script Buttons to add/remove knobs/nodes from your gizmo to keep things fast, neat and tidy.
I whipped up the following example node, which you can download here, to see how this works.
Some nodes in Nuke, such as the Particle Emitter or your favourite Camera Shake gizmo, have a random seed knob. This allows you to create a different variation of a setup using the same parameters on a given node. When these setups are used throughout a sequence, we often want to change up the random seed value so every shot matches an approved look, but doesn't behave in exactly the same way.
When setting up a sequence template, you could expression link all random seed knobs to a NoOp-based control panel, but there is a better, more automated way to get a "random" value by default.
Icons are an incredibly useful design tool to enhance user experience and readability. In Nuke, we only see icons in the Nodes toolbar by default. However, there are other areas we can add icons to increase usability & Nuke script readability. In this tutorial, I'm going to show you five practical examples.
Happy New Year 🎉
As you know, I'm all about sharing knowledge & continuously improving my skills. It has been great to see so many Compositors start to create in-depth Nuke content in 2020 & 2021 -- something that has been missing in our community for so long. To kick off the new year, I wanted to celebrate my favourite creators from the Nuke community, and share the tools I've been using most often.
Gizmos Nuke Python VFX Industry Workflow
Compositing CG renders into a plate with a rack focus can sometimes be tricky to get right. However, your defocus has to match perfectly, otherwise the illusion falls apart! Manually creating keyframes and adjusting curve slopes can be a bit cumbersome, so I thought there had to be a better way to approach this. In this tutorial, I will share what I came up with!
We can learn a lot about what our CG needs by taking cues from our plate, and matching defocus is no exception. We can look at the size of our plate's bokeh shapes, or how soft high-contrast edges are for reference. Animating a rack focus is a natural extension of this!
Nuke's merge node has 30 operations, and finding a Compositor who has utilized them all would be a difficult task. However, I want to shed some light on two merge operations that are incredibly useful, and don't get as much love as they should.
The most common operation, Over, is pretty self-explanatory: The image in the A pipe goes over the top of the B pipe. So how and why would this concept need to be expanded upon?
When working with CG renders that have baked-in holdouts, or if you're creating and precomping your own holdouts using Deeps, you might find that you get dark edges when merging everything back together. This is where disjoint-over can help! Let's take a look at a quick example to demonstrate:
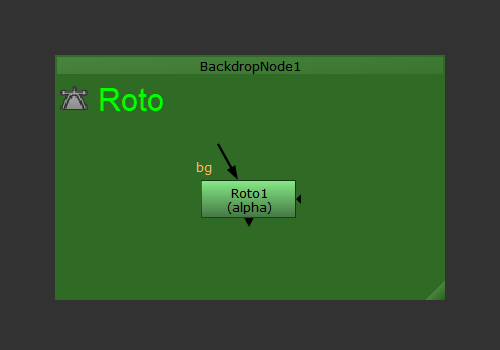
When adding a new gizmo to a menu inside of Nuke, I like to recycle the existing icons so I can keep everything thematically consistent. However, these icons are buried inside Nuke's install directory, and I always forget exactly where they live...
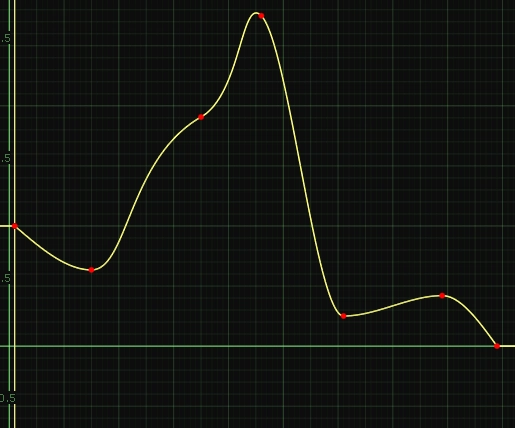
The beginning of my Compositing career started with After Effects, and while I'm now living and breathing Nuke, there's one thing I still miss -- the ease of use of After Effects' animation tools.
Coupled with a recent fascination with bezier curves, I decided to set out and see if I could bring the most basic functionality from After Effects, "easy ease", into Nuke, with a way to control the smoothness of that curve.
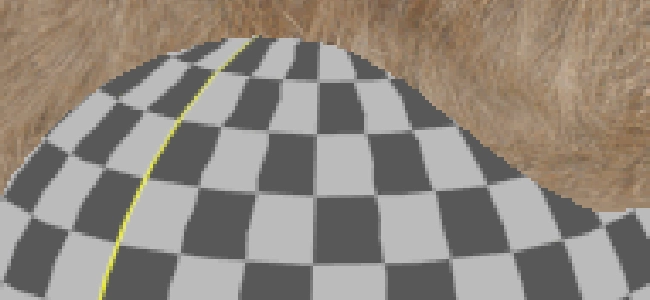
Using TCL expressions in Nuke can help us to evaluate mathematical operations, as well as link values together to create something new. However, an often forgotten feature in Nuke is the ability to add expressions to RotoShapes and Paint strokes (which are also splines under the hood).
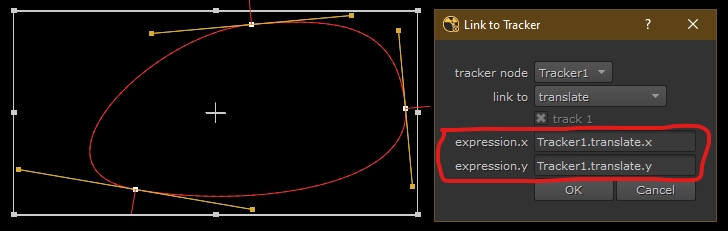
Nuke's built-in "Tracker linking dialog" (pictured above), helps us to link individual vertices to various things in a Tracker node, and is doing so by automatically adding TCL expressions for us! However, what if we wanted to link things the other way around?

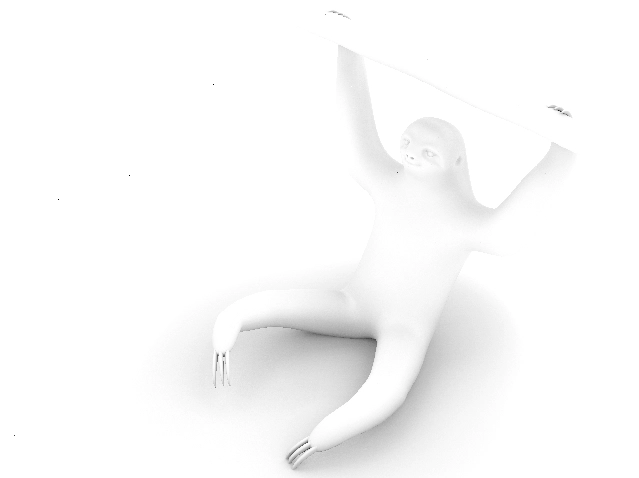
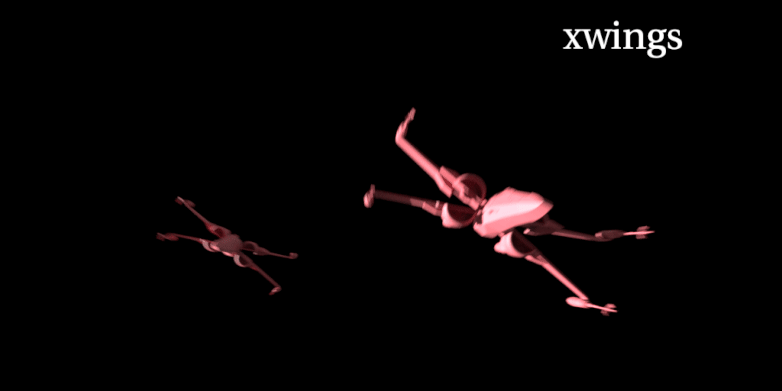
When integrating CG characters into a plate and something seems not-quite-right, the first solution I look towards is adding more occlusion shadows, often referred to as "Ambient Occlusion". Occlusion shadows help ground our CG characters and really connect them with the environment & live-action characters around them.
Most physically-based render engines are capable of rendering occlusion shadow AOVs, which are quite accurate when given photometric lights, but sometimes mathematically real and visually real isn't the same thing...
HTML is a programming language designed to view documents or websites in a web browser, although we can make use of it in Nuke to add some extra style to our nodes, gizmos, etc.
The aim of this article isn't to teach you HTML, as that would be rather convoluted for what you need to know, but instead, I'll share some easy snippets of code that will help you inside of Nuke!
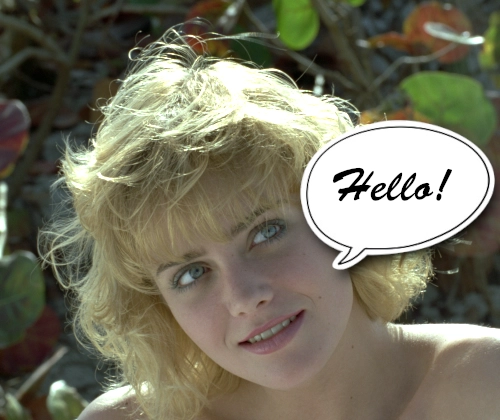
Image filtering is a necessary step in many tasks we do in computer graphics, but it often gets little cognisant attention from Compositors. When mentoring junior artists' recently, I discovered they rarely know of this fundamental knowledge at all! So I thought it would be beneficial to write this article so we can brush up on the basics, maybe learn a new thing or two, and have a resource to point others' towards if they're stuck with this concept.

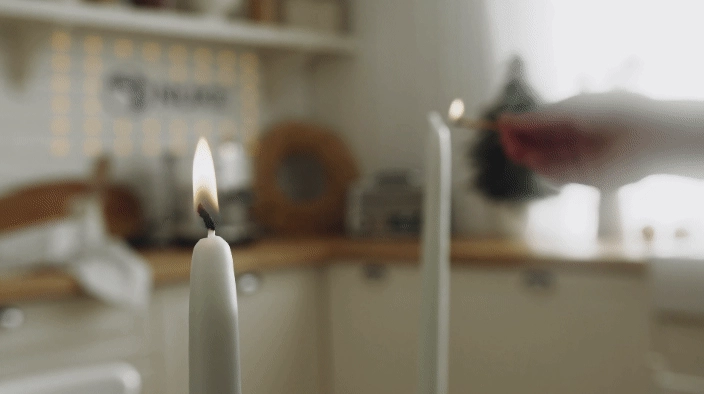
A common problem we face in visual effects is what DoPs might refer to as "dynamic" lighting; aka light sources that change colour and intensity throughout the shot. It makes our images look more interesting, but adding any VFX to these plates instantly becomes more complex. Common examples include flashing police lights, in-camera lens flares for dramatic effect, and shots lit entirely by flashing neon lights or a fire. The latter is most complex to manually animate, so it will be the example I'll use in this article.
Contact sheets are something I use all the time to run out wedges of certain looks & compare my work against other shots in the sequence. Although, the Contact Sheet node is kind of... basic. It lacks a few features & requires a lot of initial setup to actually be useful. The aim of this article is to share some knowledge on the defaults I have in my contact sheet node & how to set contact sheets up more-speedily.

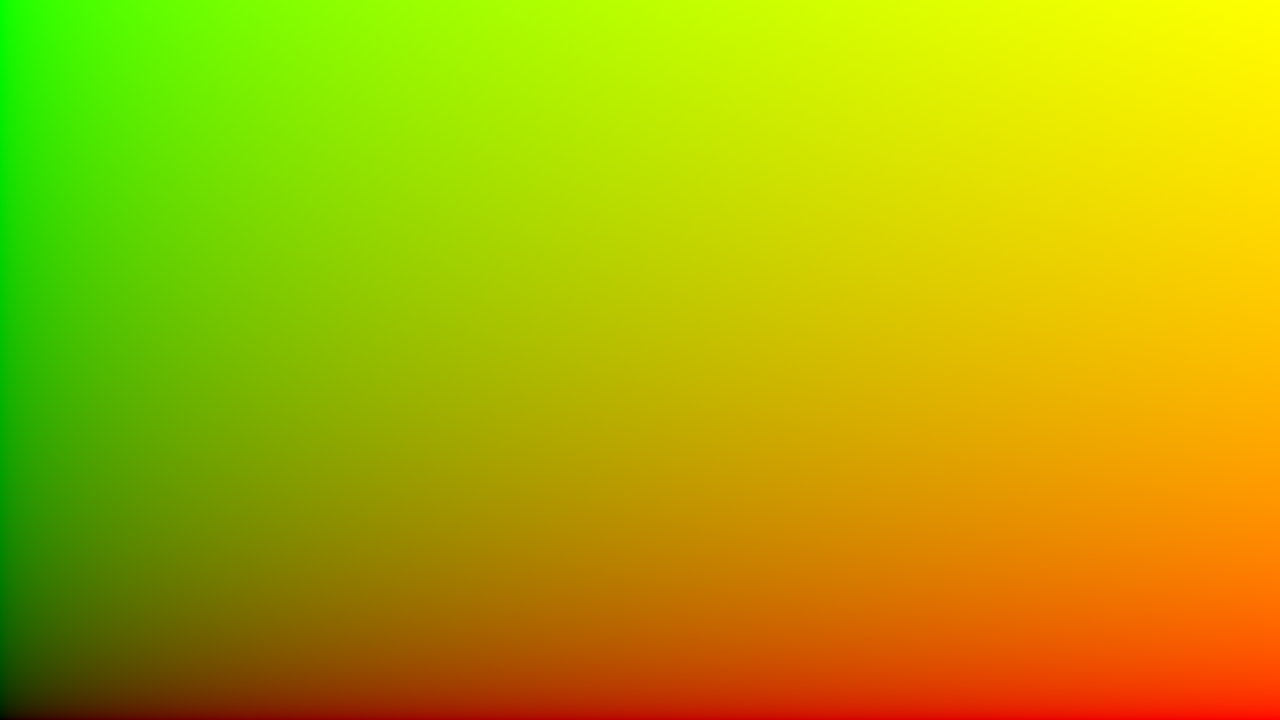
When compositing, it can help to switch to a different colourspace to get the result you're after. This article intends to gloss over the basics of what each colourspace is actually doing to your image_ (I'll provide links for further reading, if you're interested)_, and instead provide practical examples of how different colourspaces can help you achieve better results.
I often find myself labelling nodes with descriptors, so it's clear what each node is doing. This usually involves a TCL snippet to return a value of a certain knob. This article is intended to serve as a reference, so we have a good cheat sheet to turn to when we might need to find a specific TCL snippet.
Matching grain can be tricky at times. The best way to add grain to your comp & get it to match the plate is to just use the grain from the plate!
For this example, I'm going to be using this stock footage from videvo.net.
First, we have to identify when this technique is useful, and when it might not be...

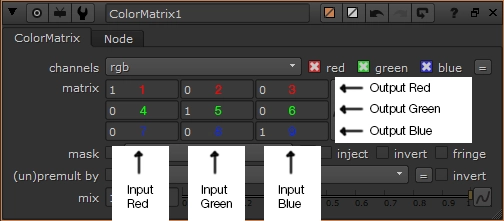
Despilling is arguably the most important step to get right when pulling a key. A great despill can often hide imperfections in your alpha channel & prevents tedious painting to manually fix edges. You're already aware that keyers like Keylight, Primatte, IBK, etc. despill your image, but what happens if their results are coming up short? It's absolutely worth your time to dig into some maths & understand how despill algorithms work, and how you can implement them using the Expression node in Nuke.
You may have used a gizmo in the past where toggling a checkbox enables/disables a set of knobs, or choosing a certain value from a Pulldown Choice will hide or show another set of knobs. What wizardry is this??? At least that's what I asked myself when embarking on my first gizmo-creating frenzy...
After searching the web, I came across many threads in many forums explaining this mysterious thing called "knobChanged", accompanied by a load of copy/pasted code to explain how to use it. With my limited knowledge of Python at the time, I had no idea what any of it meant. I just wished there was someone who posted what I needed and that was it. If this describes you right now, you're in luck!
Nuke is incredibly flexible and customizable out of the box, and empowers artists to work they way they want to work to get a shot to final. But there's a whole other world of untapped potential when you utilize Python to further expand it! In this post, I'm going to show you an example of how even the most simple python script can save you time every day.
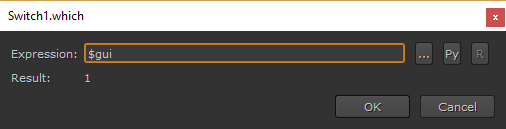
$gui is a simple TCL expression that tells Nuke to process a value differently in the Viewer (or "gui") vs. when rendering on the render farm.
To use it, simply right-click on any knob in Nuke, choose "Add expression", and enter $gui in the expression field.
There is always more than one way to solve a problem in Nuke, although some ways are definitely better than others. The aim of this post is to make you aware of the things you should & shouldn't do, so you can retain as much image quality as possible in your final comp, and work speedily without Nuke grinding to a halt.
You may have heard other compositors refer to a menu.py, or a "preferences file" in the past. What the hell is that?!
A menu.py is a python file that Nuke will read upon starting up each time. It contains data such as:
Most studios will have a menu.py to setup specific things for the entire studio, as well as a second menu.py file to change certain things on a per-show basis. But you can also create your own menu.py to customize things for you, and you only! There is a lot of power in customizing Nuke to work in the most efficient manner, based off the way you think and operate.